How to Embroider Work Shirts for a Polished Team
- September 26, 2026
- 2:52 am
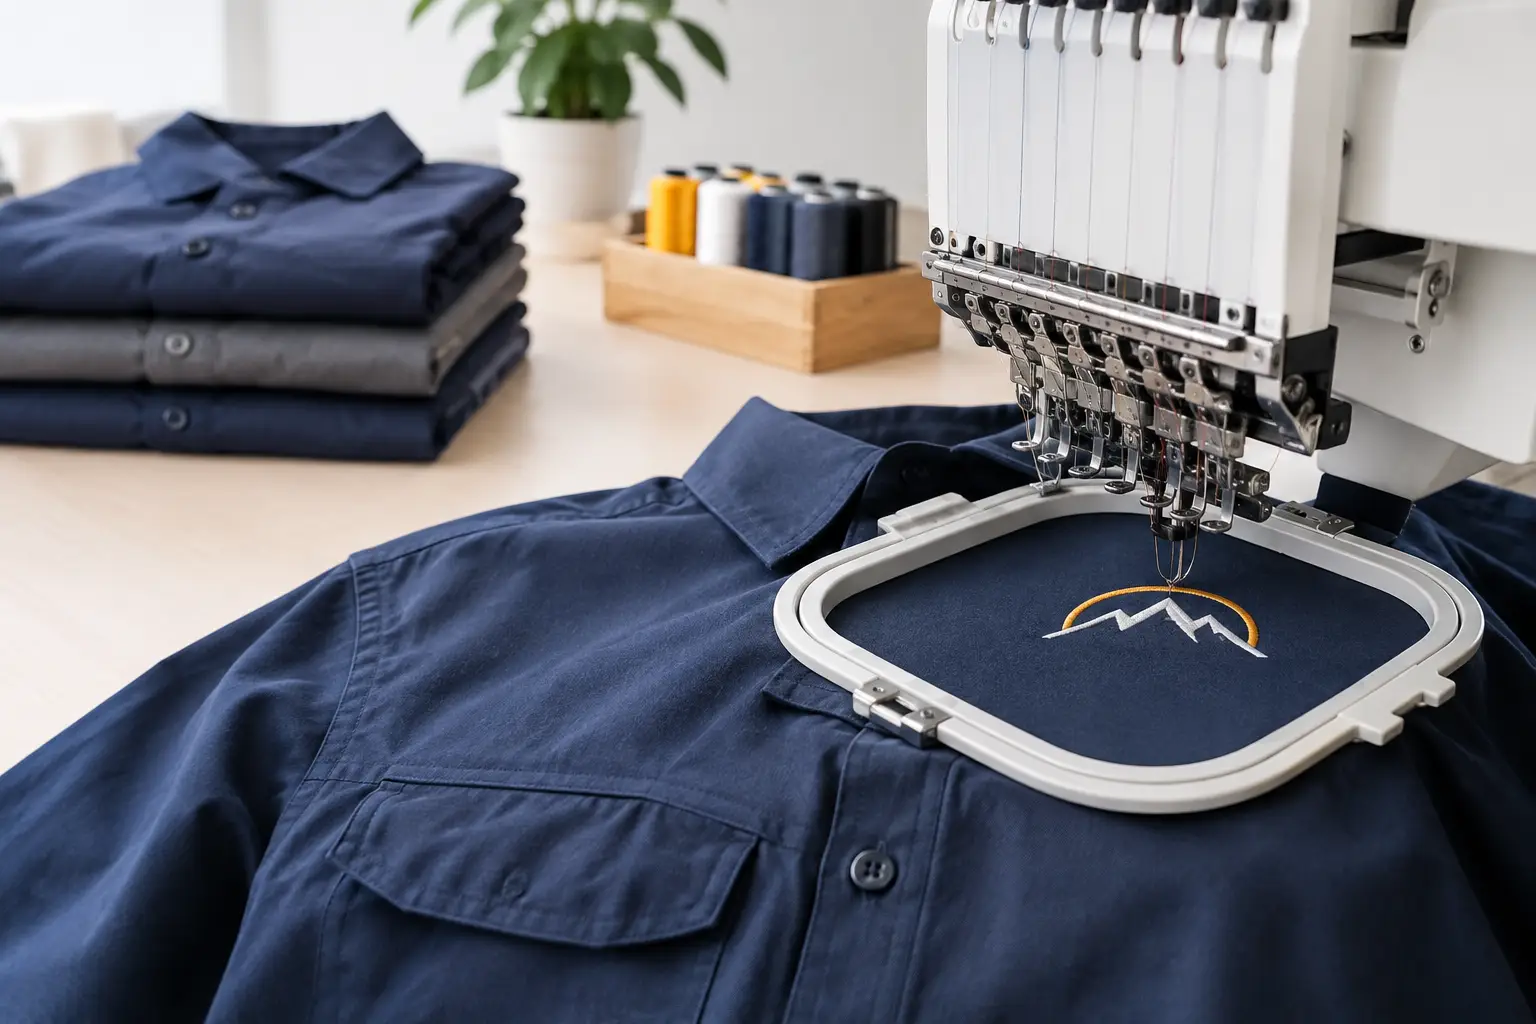
A work shirt with a crisp embroidered logo does more than identify who is on the team. It tells customers that your business pays attention to the details. Learning how to embroider work shirts starts with more than choosing a shirt and sending over a logo. Garment construction, artwork, placement, thread colors, and production methods all affect how the finished uniform looks and wears.
For a small staff order, a company-wide uniform refresh, or an ongoing apparel program, the goal is the same: create branded workwear that remains professional through real workdays, repeated washing, and changing seasons.
Start With the Job the Shirt Needs to Do
The best embroidery begins with the right garment. A logo may look excellent on a smooth corporate polo but perform poorly on a thin performance tee or heavily textured jacket. Before selecting colors or logo placement, consider where and how your employees will wear the shirts.
For office staff, sales teams, hospitality crews, and trade show representatives, polos and button-downs usually provide a refined, customer-facing look. Cotton-rich blends feel familiar and substantial, while moisture-wicking performance polos can be a better fit for teams that move between offices, vehicles, and outdoor appointments.
For field crews, construction teams, warehouse staff, and service technicians, durability deserves more weight in the decision. Work shirts, heavyweight polos, safetywear, and outerwear need fabrics that can withstand abrasion, frequent laundering, and daily movement. A lighter shirt can lower cost, but it may not hold its shape or present your logo as well after months of use.
Fabric weight also matters. Very thin knits can pucker around dense embroidery, especially when a logo includes large filled areas. A stable polo, twill work shirt, fleece, or structured outerwear piece gives embroidery a stronger foundation. When a lightweight garment is necessary, an experienced decorator can adjust the backing, stitch density, and underlay to reduce distortion.
Prepare Your Logo for Embroidery
Embroidery is not printing with thread. A printed design can reproduce fine gradients, tiny type, and intricate detail. Embroidery uses stitches, so the artwork must be translated into a stitch file that tells the machine where to sew, which direction to stitch, and when to change thread colors.
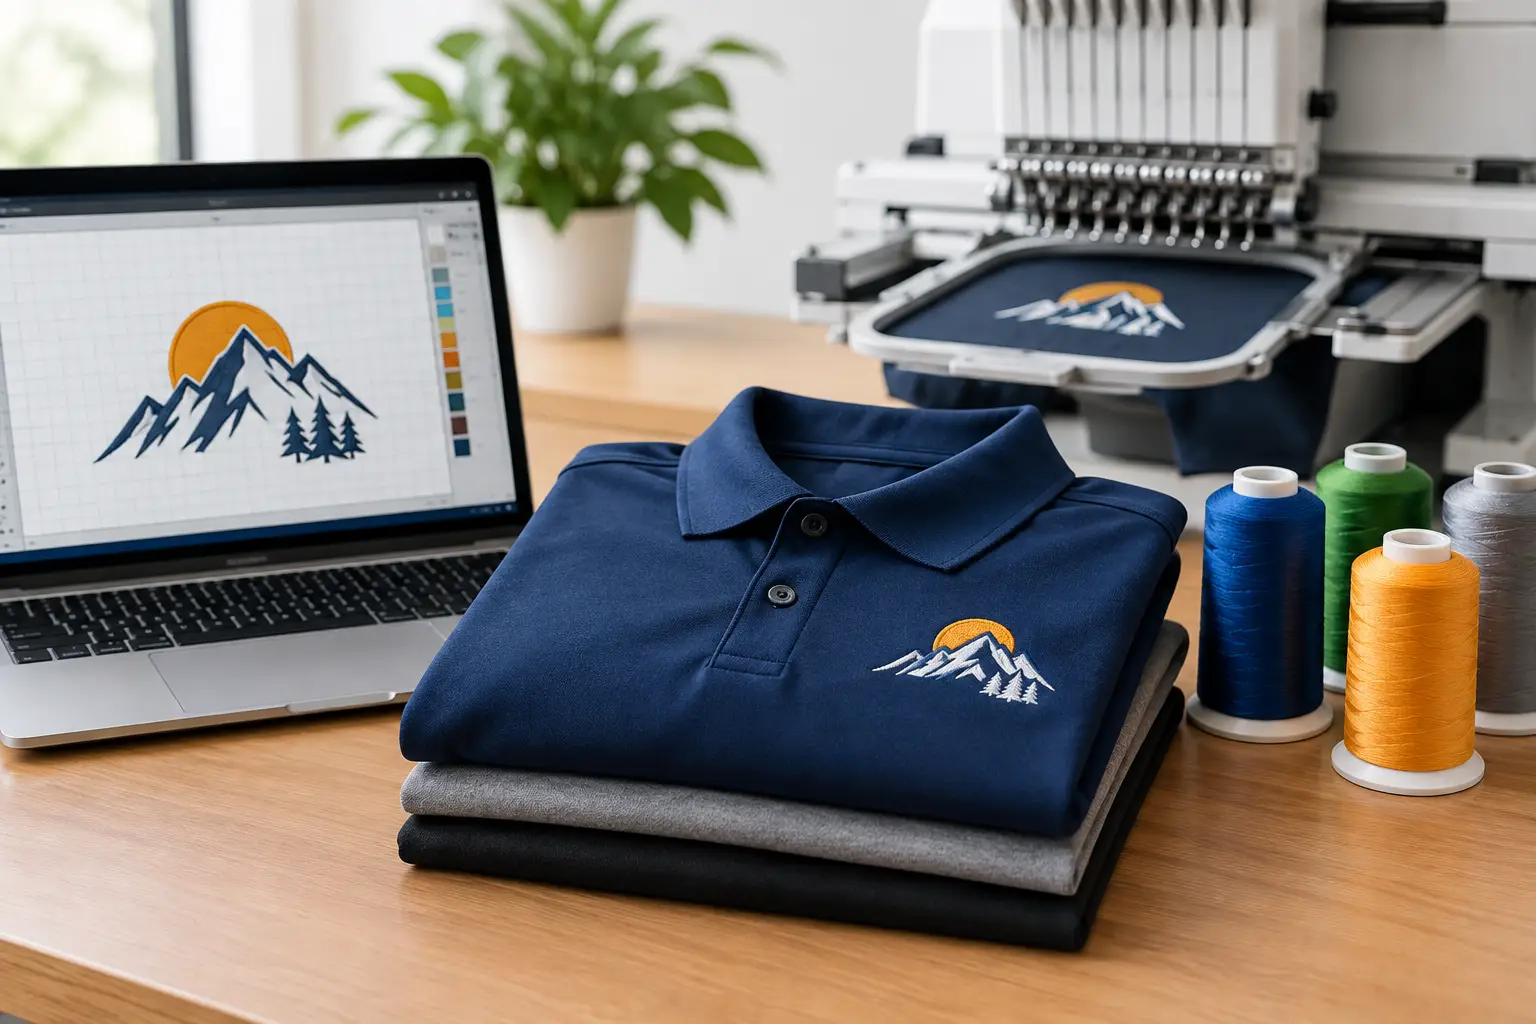
That process is called digitizing. It is one of the most important quality steps in custom embroidery because a logo that looks sharp on a screen may not stitch cleanly without thoughtful adjustments. Fine lines may need to be widened, very small text may need to be simplified, and tiny gaps between elements may need more space.
Provide the cleanest version of your logo available, preferably a vector file such as AI, EPS, or PDF. A high-resolution PNG can also be useful. Avoid relying on a small image copied from a website or email signature. Low-quality artwork makes it harder to evaluate fine details and can slow the proofing process.
A professional digitizer should preserve the character of your brand while making practical decisions for thread. This may mean using a simplified version of a detailed logo for left-chest embroidery and reserving the full artwork for larger applications. That is not a compromise in quality. It is how experienced embroidery stays readable at the size people actually see on a work shirt.
How to Embroider Work Shirts With the Right Placement
Left-chest placement is the standard for work shirts because it is visible, familiar, and appropriate across polos, button-downs, quarter-zips, and jackets. It supports a consistent uniform program without overwhelming the garment. For most adult shirts, the logo is generally placed several inches down from the shoulder seam and slightly toward the center from the button placket or shirt edge.
Exact placement should be based on the garment style and size range, not a single measurement applied to every item. A logo placed correctly on a medium polo can sit too high or too far under the arm on an extended-size garment if production does not account for grading. This is one reason decoration experience matters when outfitting a broad team.
Other placements can serve specific purposes. A right-chest employee name can make customer interactions more personal. A sleeve logo can support a partner, certification, or department mark. A back yoke design may work for crews who spend much of the day facing away from customers. Still, more decoration is not always better. Additional locations raise cost, increase production time, and can make a uniform look busy.
For most businesses, a well-executed left-chest logo is the strongest starting point. Add a second location only when it has a clear branding or operational role.
Select Thread Colors and Stitch Details Carefully
Thread color matching should support brand recognition, but thread behaves differently from ink. A corporate blue may appear slightly brighter or darker when stitched into textured fabric than it does on a digital screen. Reviewing a digital proof and, when needed, a sewn sample helps confirm that the final combination reads correctly on the selected garment color.
Contrast is especially important. Dark thread on a dark navy shirt may technically match your brand standards but disappear from a few feet away. The same issue can occur with light thread on heathered or high-visibility fabrics. In these cases, a secondary approved logo colorway may deliver a cleaner result.
Stitch count affects both appearance and price. Larger logos and designs with broad filled areas require more stitches, which adds time and can make the decoration feel heavier. A compact logo with clear lettering often looks more refined on a work shirt than an oversized, highly detailed design.
If your logo includes small type, ask whether the text will remain legible at the intended size. Trying to force every line of a logo onto a left chest can produce thread buildup rather than clarity. A trusted embroidery team will flag this before production, not after shirts have been decorated.
Use the Right Stabilizer for the Fabric
The material behind an embroidered logo is just as important as the thread on top. Stabilizer, often called backing, supports the fabric during sewing and helps prevent puckering, shifting, and stretched-out stitches.
Cutaway backing is commonly used for polos and knit shirts because it remains behind the design and provides lasting stability. Tearaway backing can be appropriate for more stable woven shirts or certain lighter designs, but it may not offer the same long-term support. Performance fabrics, stretch garments, and thin materials may also require specialty backing or a topping layer to keep stitches from sinking into the fabric.
The right choice depends on the garment and the design. Using too little backing can lead to rippling around the logo. Using more than necessary can add stiffness. Quality embroidery balances durability with wearer comfort, particularly on polos and shirts worn for full shifts.
Review a Proof Before Production
A digital proof is your chance to verify the essentials before the machines begin. Confirm the shirt style, garment color, logo version, thread colors, placement, and approximate logo dimensions. Check spelling on employee names, department labels, or location identifiers with special care.
This step matters even for repeat orders. Brands update logos, apparel manufacturers change shades, and a new garment style can alter how a design sits on the chest. Taking a few minutes to review a proof protects your budget and keeps your team presentation consistent.
For larger programs, it is also helpful to establish decoration standards early. Document approved garment colors, logo sizes, thread colors, and placement rules. That makes future reorders easier for office administrators and procurement teams while helping every location or department maintain the same polished appearance.
Decide When to Use a Professional Embroidery Partner
It is possible to embroider a few shirts in-house with the right equipment, training, and time. But business apparel orders introduce variables that are easy to underestimate: hooping different sizes correctly, managing thread breaks, handling logo digitizing, matching colors, inspecting every garment, and meeting a firm delivery date.
Working with a professional decorator is often the more practical choice when shirts represent your business in front of customers. In-house production provides control, but it requires an investment in equipment and skilled operators. Outsourcing gives you access to commercial machines, digitizing expertise, garment sourcing, proofing, and quality control without adding another production task to your staff’s workload.
At LOGO USA, in-house embroidery and digital proofing help businesses move from artwork to finished apparel with clear production oversight. That support is especially valuable when a program includes multiple shirt styles, size ranges, locations, or repeat orders.
Plan for Wear, Reorders, and Growth
Embroidery is chosen for work shirts because it is durable, dimensional, and professional. To keep it looking its best, follow the garment care label, wash items inside out when practical, and avoid excessive heat. The thread itself holds up well, but the shirt beneath it still needs appropriate care.
When placing an order, think beyond the first shipment. Ordering a few extra shirts can cover new hires, replacement needs, and size exchanges without creating a mismatch later. If your workforce changes often, save the approved artwork and decoration specifications so reorders stay consistent.
A work shirt becomes part of your brand the moment an employee walks into a job site, customer lobby, showroom, or event. Choose garments built for the task, simplify artwork for stitch quality, and treat the proof as a real production checkpoint. The result is apparel your team will feel comfortable wearing and customers will remember for the right reasons.
Popular Blogs
What File Formats Does Embroidery Accept?
October 12, 2026