
What Is Embroidery Digitizing? A Practical Guide
- July 28, 2026
- 3:42 am
A crisp embroidered logo on a polo or cap starts long before the needle touches the garment. If you have asked, what is embroidery digitizing, the simple answer is that it is the process of turning your logo artwork into a stitch file an embroidery machine can read. The more complete answer matters to every business ordering branded apparel: digitizing determines whether your logo looks polished, remains legible, and holds up across a full team order.
What Is Embroidery Digitizing?
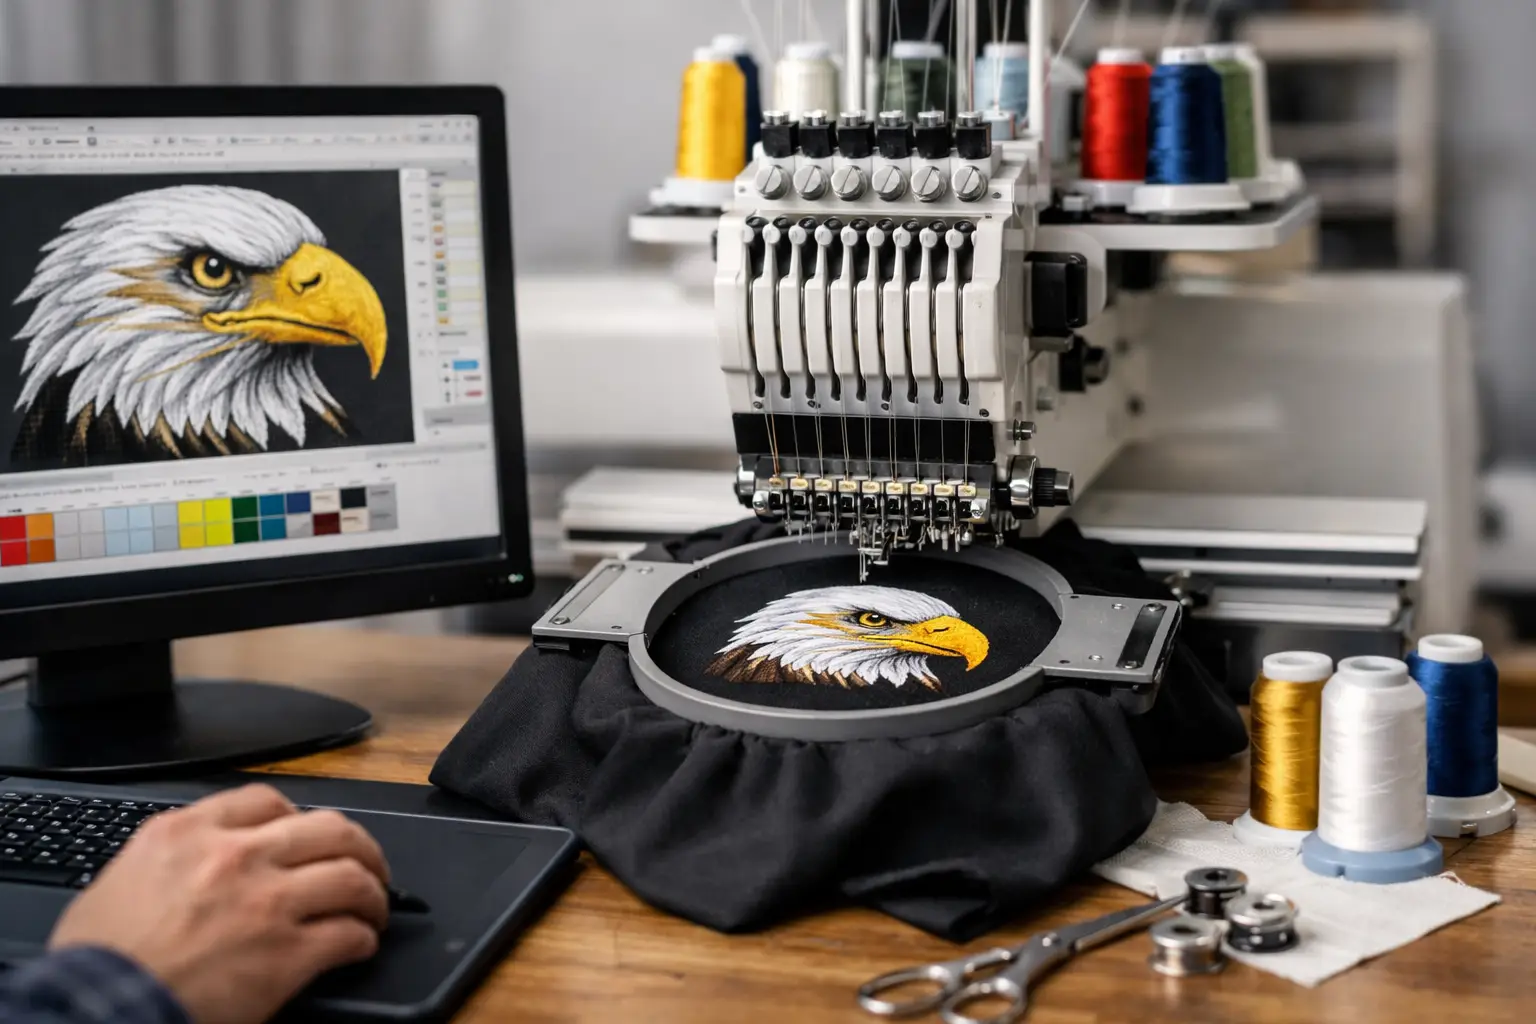
Embroidery digitizing is the technical translation of artwork into a set of precise machine instructions. A digitizer does not simply upload a JPG, PNG, PDF, or vector file and press a button. They map out stitch types, stitch direction, density, color changes, trims, and the order in which the machine will sew each part of the design.
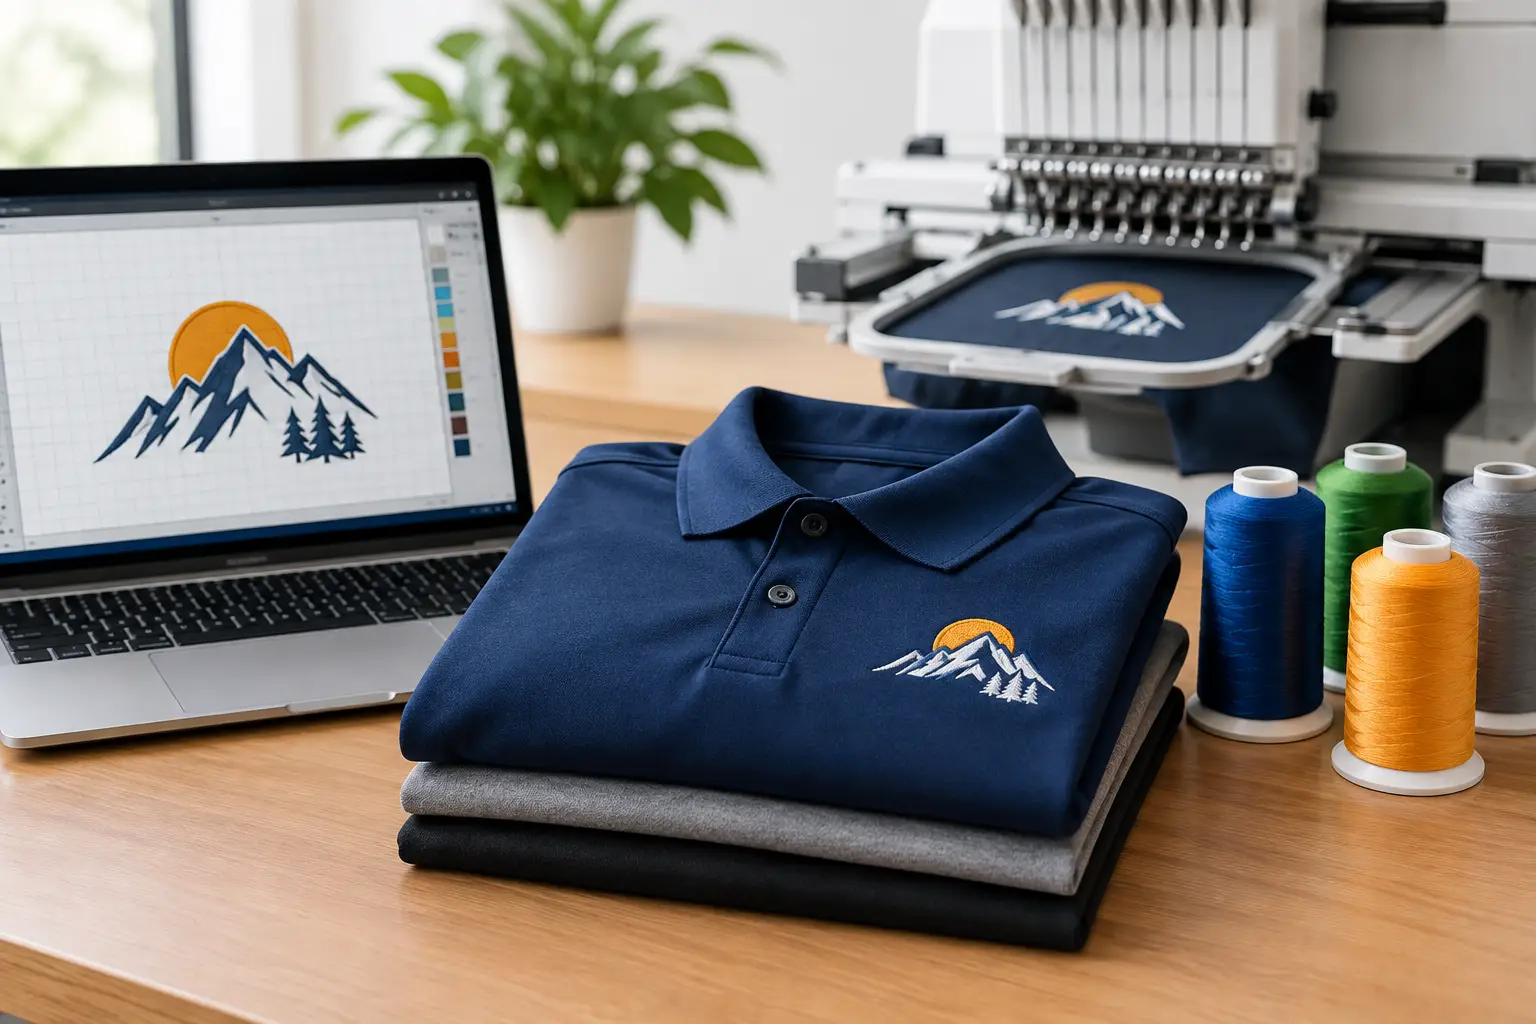
Think of your logo as a blueprint and the digitized file as the production plan. The artwork tells us what the mark should look like. The digitized file tells the embroidery machine exactly how to build it with thread.
Most commercial embroidery machines use formats such as DST, EXP, or PES. These files are not designed for normal viewing or editing like a PDF or image file. They contain stitch data that controls needle movement, thread colors, and sequencing. Once the file is ready, it can be used to produce consistent embroidery on approved garments, caps, bags, outerwear, workwear, and uniforms.
For business buyers, this is more than a production detail. A properly digitized logo helps your employees, event staff, and customers see the same clean brand presentation across every decorated item.
Why Embroidery Digitizing Matters for Your Brand
Embroidery gives a logo texture, dimension, and a premium finish that printing cannot always replicate. But thread behaves differently than ink. It has thickness, tension, and direction. A logo that looks perfect on a computer screen may need thoughtful adjustments before it can be sewn cleanly on a left chest polo or the curved front of a structured cap.
Digitizing accounts for those physical realities. Fine lines may need to be reinforced. Small text may need to be enlarged or simplified. Spaces between letters may need to open slightly so thread does not fill them in. These changes are not a departure from your brand standards. They are practical refinements that protect the clarity of your mark in thread.
A quality digitized file also supports repeatability. When your company orders uniforms for a new location, adds jackets for field technicians, or reorders polos for an annual event, the approved file helps maintain the same stitch quality and placement. That consistency is especially valuable for organizations managing multiple departments, locations, or recurring apparel programs.
Poor digitizing often shows up as puckering, gaps in coverage, distorted shapes, loose stitches, or unreadable lettering. The apparel itself can be high quality, but an improperly prepared design can still make the final product look rushed. Skilled digitizing is one of the reasons professional embroidery looks intentional from close range as well as across a room.
How a Logo Becomes an Embroidered Design
The digitizing process begins with a review of your artwork and the item you plan to decorate. A logo intended for a jacket back may have different requirements than the same logo on a cap or a small left chest location. Size, fabric, construction, and placement all affect the production approach.
Artwork review and logo cleanup
Clean source art gives the digitizer a strong starting point. Vector files such as AI, EPS, or SVG are often preferred because they preserve sharp edges and scalable shapes. High-resolution PNG, PDF, or JPG files can also work when the logo is clear. If the art is low resolution, blurry, or missing elements, graphic design support may be needed before digitizing begins.
During review, the digitizer identifies details that could create problems in thread. This might include ultra-thin strokes, gradients, very small type, or color transitions that embroidery cannot reproduce exactly. A good production partner explains the recommended adjustments before decoration moves forward.
Stitch planning
Next, the digitizer chooses the stitch types that best suit each section of the logo. Fill stitches cover larger areas. Satin stitches create smooth borders, lettering, and narrow shapes. Running stitches are useful for fine outlines and details. The goal is not to use the most stitches possible. It is to use the right stitches in the right places for coverage, definition, and durability.
The digitizer also plans stitch direction. Changing the angle of stitches can help neighboring shapes stand apart, create a cleaner finish, and prevent thread from pulling the design out of shape. Underlay stitches are added beneath visible stitching to stabilize the fabric and give the top layer a more even appearance.
Density, compensation, and sequencing
Density refers to how closely stitches are placed. Too little density can expose the garment underneath. Too much can make a design stiff, bulky, or prone to puckering. The right setting depends on the logo, thread, backing, and garment material.
Pull compensation is another key adjustment. As stitches form, thread can pull fabric inward and make shapes appear narrower than intended. Digitizers compensate for that movement so circles remain round, lettering stays readable, and borders hold their shape.
Finally, the stitching sequence is organized. The machine must sew elements in a logical order to reduce visible travel stitches, avoid unnecessary trims, and keep details clean. This is where production experience makes a visible difference.
The Garment Changes the Digitizing Approach
A logo is not digitized in a vacuum. The same design may need a different setup for a smooth performance polo, a heavyweight sweatshirt, a fleece jacket, or a structured cap. Stretchy knit fabrics need stabilization to prevent distortion. Thick outerwear may require different handling than a lightweight button-down. Caps introduce curved surfaces and center seams that need special attention.
This is why a design that sews beautifully on one item may need testing or modification on another. It depends on the material, logo size, and decoration location. For example, a dense logo with tiny lettering may be suitable for a jacket chest but not for the limited space on a cap front.
A reliable embroidery partner considers the finished use of the item, not just the artwork file. For a customer-facing uniform program, the goal is a logo that looks consistent through regular wear and repeated laundering. For an event giveaway, the priority may be strong visual impact at a specific price point. Both are valid, but they can lead to different garment and decoration recommendations.
What Businesses Should Provide Before Digitizing
The process moves fastest when the production team has clear artwork and order details. Send the best version of your logo available, along with brand color information if specific thread colors are required. It also helps to know where the logo will be placed and which apparel styles you are considering.
Be prepared to discuss the intended logo size. Standard left chest embroidery is often around 3 to 4 inches wide, but the right dimensions depend on the shape of your logo and the garment. A wide horizontal logo may need a different approach than a tall emblem or circular mark.
If your brand has strict usage standards, share them early. Let the team know whether elements can be simplified, whether a tagline is required, and whether certain colors must be matched closely. This reduces approval delays and helps prevent surprises after a proof is prepared.
For larger programs, it is useful to establish approved logo files, thread colors, placements, and garment options from the start. That groundwork makes future reorders easier and helps every department present a unified look.
Digitizing Costs and What Affects Them
Digitizing is commonly a one-time setup cost for a new logo, though the exact pricing depends on design complexity. A simple one-color wordmark generally takes less preparation than a detailed crest with multiple colors, intricate borders, small text, and layered elements.
Stitch count can influence the embroidery price for each garment, while design complexity affects the digitizing effort. These are related but not identical. A large, simple design may have a high stitch count, while a smaller but highly detailed logo can require more technical setup.
The lowest digitizing price is not always the best value if it produces a file that runs poorly or needs to be rebuilt later. For branded apparel, the file should be treated as part of your production asset. It supports the quality of every order that follows.
Proofing Protects the Final Result
Before production begins, review the digital proof carefully. Confirm the logo version, thread colors, placement, size, and garment selection. A proof is your opportunity to catch issues such as an outdated logo, missing trademark symbol, incorrect department name, or placement that does not fit the intended use.
Keep in mind that a digital proof represents layout and design intent. The actual embroidered result has texture and dimension because it is made with thread. For detailed logos, the production team may recommend a sew-out or sample review to confirm that the design performs as expected on the selected item.
At LOGO USA, in-house digitizing and USA-based production help keep artwork review, proofing, and decoration under close quality control. That creates a more accountable path from logo upload to finished apparel, especially when timing and consistency matter.
Your logo should work as hard as the people wearing it. Start with the clearest artwork you have, choose garments suited to the job, and give the digitizing process the attention it deserves. The result is branded apparel that looks professional on day one and stays recognizable long after the first wear.
Popular Blogs
What File Formats Does Embroidery Accept?
October 12, 2026